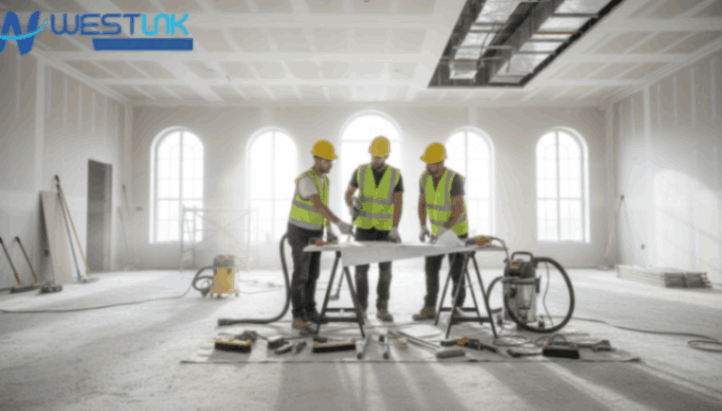
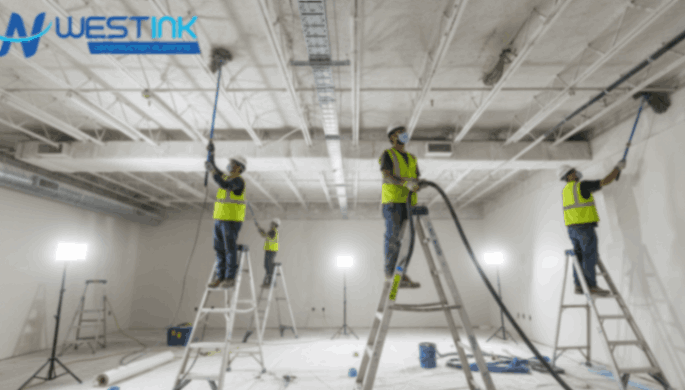
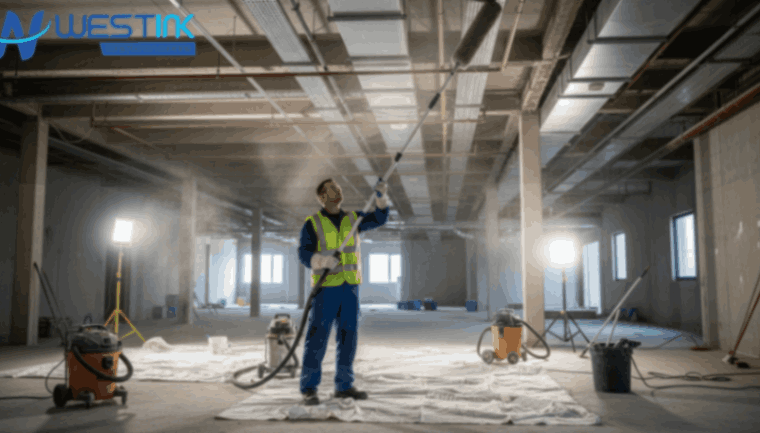
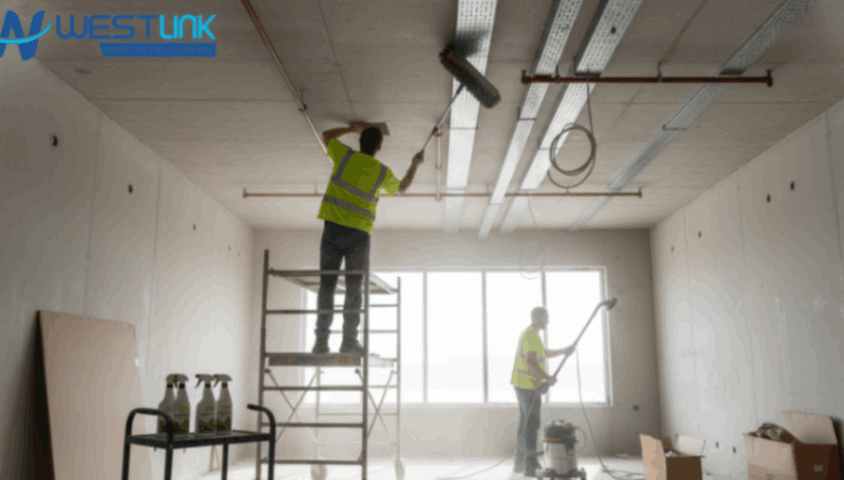
After construction or renovation cleaning, ceilings often accumulate dust, paint splatters, plaster residue, and fine particles that are difficult to notice or reach. These residues not only make the ceiling look dirty but can also affect the overall cleanliness and air quality of the room. In Australia, where construction activity is increasing, neglecting ceiling cleaning can leave homes and commercial spaces with hidden dust and allergens that impact health and the comfort of occupants.
Cleaning ceilings after construction cleaning is therefore essential for both aesthetic and practical reasons. A thorough post-construction clean protects surfaces from permanent stains or damage, maintains indoor air quality, and ensures that spaces are safe and move-in ready. Following a systematic and safe cleaning approach allows homeowners, builders, and professional cleaners to efficiently remove debris, restore the ceiling’s appearance, and maintain long-term durability.
What is Ceiling?
Ceilings are the overhead surfaces in a room that cover structural elements such as beams, insulation, and wiring. They serve both functional and aesthetic purposes, providing a finished look while protecting the interior from dust, debris, and other construction residues. In Australian homes, ceilings are commonly made from plasterboard, timber, or decorative materials, and each type requires specific cleaning techniques to avoid damage and ensure a spotless finish. Proper maintenance is essential, especially after construction, to maintain a healthy and visually appealing living environment.
Key Points:
- Ceilings act as a protective barrier, hiding beams, insulation, and wiring.
- They contribute to the room’s appearance and overall comfort.
- Common materials include plasterboard, timber, and decorative finishes.
- Each ceiling type requires specific cleaning methods to prevent damage.
- Regular maintenance ensures cleanliness, safety, and a polished look post-construction.
Types of Ceilings After Construction
After construction or renovation cleaning, ceilings in homes can vary significantly, and understanding the type is important for effective cleaning. Different materials and textures react differently to dust, paint splatter, and debris.
- Plasterboard Ceilings: The most common type in homes; smooth surface but sensitive to moisture. Requires gentle dusting and minimal water when cleaning.
- Textured Ceilings: Includes popcorn or stippled finishes; trap more dust and need careful vacuuming or soft brushing to avoid damage.
- Timber Ceilings: Wooden ceilings require mild cleaning solutions to prevent warping or stains. Soft cloths and polish may be needed for a finished look.
- Decorative or Coffered Ceilings: Often feature mouldings or intricate designs; cleaning involves attention to detail using small brushes or dusters to reach corners.
Identifying the ceiling type helps determine the appropriate cleaning techniques and tools, ensuring a thorough and safe post-construction clean.
Preparation and Strategy for clean ceiling after construction

Effective ceiling cleaning after construction requires careful preparation and a clear strategy. Start by assessing the ceiling type, the extent of dust and debris, and any paint or plaster residues. Plan the cleaning workflow from top to bottom, identifying areas that need special attention, such as corners, textured surfaces, or decorative elements. Gather all necessary tools, cleaning products, and safety equipment before starting.
- Assess the ceiling: Identify material type and areas with heavy dust or residue.
- Plan workflow: Decide the order of cleaning to maximize efficiency and reduce recontamination.
- Gather tools and supplies: Ensure HEPA vacuums, microfibre cloths, ladders, and cleaning agents are ready.
- Safety first: Confirm PPE is available and ladders/platforms are stable.
A well-prepared approach ensures thorough, safe, and efficient ceiling cleaning, reducing the risk of damage and making the process faster and more effective.
Systematic Workflow Clean Ceiling after construction
A systematic workflow is essential for cleaning ceilings after construction cleaning because it ensures the process is thorough, efficient, and safe. By following a structured sequence, cleaners can avoid missing spots, prevent damage to delicate surfaces, and achieve consistent results across different ceiling types. Each step focuses on a specific task, from assessing the ceiling’s condition to performing a final inspection, which guarantees that dust, paint overspray, and construction debris are completely removed.
Step-by-Step Workflow Explained:
- Step 1: Assessment – Inspect the ceiling to determine the type of material, level of dust, paint splatters, and any debris. Identify areas that need extra attention.
- Step 2: Safety Preparation – Set up ladders or platforms securely, wear personal protective equipment (PPE), and ensure the work area is safe. In Australia, Work Health and Safety (WHS) regulations emphasize stable access equipment to prevent falls during overhead work.
- Step 3: Dry Cleaning – Start with dry dusting using microfibre dusters or HEPA vacuums to remove loose dust and cobwebs without spreading debris. HEPA filters are crucial for capturing fine construction dust particles that can harm indoor air quality.
- Step 4: Spot Cleaning – Use damp cloths with mild detergent to clean paint overspray, stains, or adhesive residue carefully.
- Step 5: Wet Cleaning (if applicable) – Lightly dampen cloths for moisture-resistant surfaces to remove remaining grime, taking care not to over-wet.
- Step 6: Final Inspection – Check all areas under proper lighting to confirm no dust or residue remains, ensuring the ceiling is fully clean and ready for use.
Following this workflow streamlines the cleaning process, protects the ceiling, and ensures a polished, move-in ready finish.
How to Clean Ceilings After Construction?

Cleaning ceilings after construction isn’t just about wiping away dust—it requires careful planning and the right tools to handle different surfaces safely. Construction cleaning work leaves behind dust, paint splatters, plaster residue, and other debris that can settle on ceilings, making them look unfinished or dirty. Using a systematic, step-by-step approach ensures that all residues are removed efficiently, surfaces are protected from damage, and the final result is polished and visually appealing. This method also improves safety by reducing the risk of accidents when working at height.
Step‑by‑Step Guide: How to Clean Ceilings After Construction
Cleaning ceilings after construction requires a careful, structured approach to ensure safety and effectiveness. Each step addresses a specific task, from preparing the work area to performing a final inspection. Following these steps prevents damage to delicate surfaces, removes dust and debris efficiently, and ensures a polished, move-in ready ceiling.
Step-by-Step Guide Explained:
- 1. Conduct a Safety Assessment:
- Inspect for loose plaster, structural damage, exposed wiring, or wet areas.
- Ensure ladder access is stable and secure.
- This step prevents accidents and ensures a safe working environment. The U.S. Occupational Safety and Health Administration (OSHA) outlines key fall prevention strategies applicable to ceiling cleaning tasks.
- Inspect for loose plaster, structural damage, exposed wiring, or wet areas.
- 2. Start With a Dry Dust Removal:
- Use a microfibre ceiling duster or HEPA vacuum to remove fine dust, cobwebs, and construction debris.
- Avoid pressing too hard to prevent marking or damaging the ceiling surface.
- Use a microfibre ceiling duster or HEPA vacuum to remove fine dust, cobwebs, and construction debris.
- 3. Treat Stains and Spots:
- Use a soft, slightly damp cloth with diluted sugar soap to remove paint overspray, smudges, or adhesive residue.
- Light dampness prevents moisture damage, especially on plasterboard ceilings.
- Use a soft, slightly damp cloth with diluted sugar soap to remove paint overspray, smudges, or adhesive residue.
- 4. Wet Clean the Ceiling (If Required):
- Spray mild detergent onto a microfibre pad (never directly on the ceiling) and wipe gently in even strokes.
- Avoid excessive water to protect moisture-sensitive surfaces like Australian plasterboard.
- Spray mild detergent onto a microfibre pad (never directly on the ceiling) and wipe gently in even strokes.
- 5. Final Inspection and Touch-Ups:
- Check under proper lighting to ensure no dust, streaks, or marks remain.
- Confirm all stains are removed for a completely clean, polished ceiling.
- Check under proper lighting to ensure no dust, streaks, or marks remain.
Effective Cleaning Techniques and Tools Cleaning Ceiling after construction

Using the right cleaning techniques and tools is essential for effectively removing dust, debris, and paint overspray from ceilings after construction cleaning. Proper methods not only ensure a clean finish but also prevent damage to delicate surfaces, especially on plasterboard, timber, or textured ceilings. Different ceiling types and textures require tailored approaches, so selecting the correct tools and following the appropriate cleaning methods is critical for achieving a polished, move-in ready result.
Techniques and Tools Explained:
- Dry dusting: Microfibre dusters or extendable poles remove loose dust and cobwebs before any wet cleaning, preventing particles from spreading.
- Vacuuming: HEPA-filter vacuums with soft brush attachments capture fine dust and allergens, ensuring thorough removal without scratching surfaces. Research from Cornell University highlights the effectiveness of HEPA systems in reducing airborne construction dust.
- Spot cleaning: Damp microfibre cloths with mild detergent or sugar soap effectively remove paint spots, adhesive residue, or smudges on sensitive surfaces.
- Gentle wet cleaning: For moisture-resistant ceilings, lightly dampened cloths clean surfaces without over-wetting, preventing water damage.
- Detail tools: Small brushes or sponges allow access to corners, crevices, and textured areas, ensuring no spots are missed.
Health & Safety First Clean Ceilings After Construction
Prioritising health and safety is essential when cleaning ceilings after construction because the work involves exposure to dust, paint particles, adhesives, and other debris that can affect respiratory health. Working on ladders or elevated platforms also carries a risk of falls, so following proper safety protocols is crucial for both DIY cleaners and professionals.
Key Safety Measures Explained:
- Wear appropriate PPE: Masks, gloves, and protective eyewear protect against inhalation of dust and contact with irritants.
- Use stable, WHS-compliant ladders or platforms: Ensures safe access to high areas and prevents accidents.
- Avoid direct contact with hazardous materials: Follow manufacturer instructions when using chemicals or cleaning products to prevent injury.
- Ensure proper ventilation: Reduces inhalation of dust, fumes, or chemical residues, keeping the work environment safe and healthy.
Eco‑Friendly Options after construction

Using eco-friendly cleaning options helps minimise the environmental impact of post-construction cleaning. By selecting sustainable products and methods, cleaners can reduce chemical waste, conserve resources, and support Australia’s environmental standards while maintaining a clean and safe indoor space.
Eco-Friendly Practices Explained:
- Biodegradable cleaners: Break down naturally, reducing harmful chemical residues in the environment.
- Reusable microfibre cloths: Can be washed and reused multiple times, cutting down on disposable waste.
- Low-water cleaning methods: Conserve water while still effectively removing dust and debris.
- Sustainable cleaning supports environmental standards: Ensures compliance with Australian regulations and promotes eco-conscious practices.
When to Call a Professional Cleaner
While light dusting on ceilings can be managed by homeowners, certain situations call for professional cleaning to ensure safety and effectiveness. Professionals are trained to handle challenging surfaces and large areas, using specialised tools and techniques that prevent damage and deliver a thorough clean.
Situations for Hiring Professionals Explained:
- Heavy plaster or paint residue: Professionals can safely remove stubborn construction debris without damaging the ceiling.
- Textured or decorative ceilings: Complex surfaces require expert handling and attention to detail.
- Large homes or multi-storey areas: Professionals can efficiently clean extensive spaces that are difficult and time-consuming for DIY efforts.
- Specialised equipment and experience: HEPA filtration, ladders, and cleaning tools allow professionals to tackle complex surfaces safely and thoroughly.
Final Checklist: Ceiling Cleaning After Construction
A final checklist ensures that ceiling cleaning after construction is complete, safe, and polished. It serves as a verification step to confirm that all areas have been thoroughly cleaned and no issues remain.
Checklist Explained:
- All dust removed: Ensures no leftover dust or debris remains on ceilings or high surfaces.
- Stains and overspray cleaned: Confirms paint splatters, adhesive, or smudges are fully removed.
- No watermarks or streaks: Guarantees a smooth, clean surface without moisture damage.
- All areas inspected under proper lighting: Verifies that no spots or residues are missed.
- Work area left safe and tidy: Ensures ladders, tools, and cleaning materials are stored safely, leaving the space ready for use.
Conclusion
Cleaning ceilings after construction is essential for a healthy, visually appealing, and move‑in ready home. Using the right tools, safe methods, and Australian‑standard cleaning practices ensures high‑quality results. Whether you choose to DIY or hire professional cleaners, a clean ceiling completes the perfect finish to any renovation or new build.
FAQs: Ceiling Cleaning After Construction
- How often should ceilings be cleaned after construction?
Ceilings should be cleaned immediately after construction or renovation to remove dust, debris, and paint residue. - Can I clean ceilings myself or should I hire a professional?
Minor dusting can be DIY, but heavy debris, textured surfaces, or large areas are best handled by professionals. - What tools are essential for cleaning ceilings safely?
HEPA vacuum cleaners, microfibre dusters, soft cloths, ladders, and mild detergents are essential. - Are all ceilings safe to wet clean?
No, plasterboard and textured ceilings are sensitive to moisture; use lightly dampened cloths only. - How do I remove paint splatters from ceilings?
Use a soft cloth with a small amount of diluted sugar soap or mild detergent, testing a small area first. - Is PPE necessary when cleaning ceilings?
Yes, gloves, masks, and protective eyewear protect against dust, debris, and cleaning chemicals. - Can textured ceilings be cleaned without damage?
Yes, use soft brushes or HEPA vacuums and avoid excessive pressure to prevent dislodging texture.
8. How do I ensure ceilings are fully clean after construction?
Follow a systematic workflow: dusting, spot cleaning, wet cleaning (if appropriate), and final inspection under good lighting.
