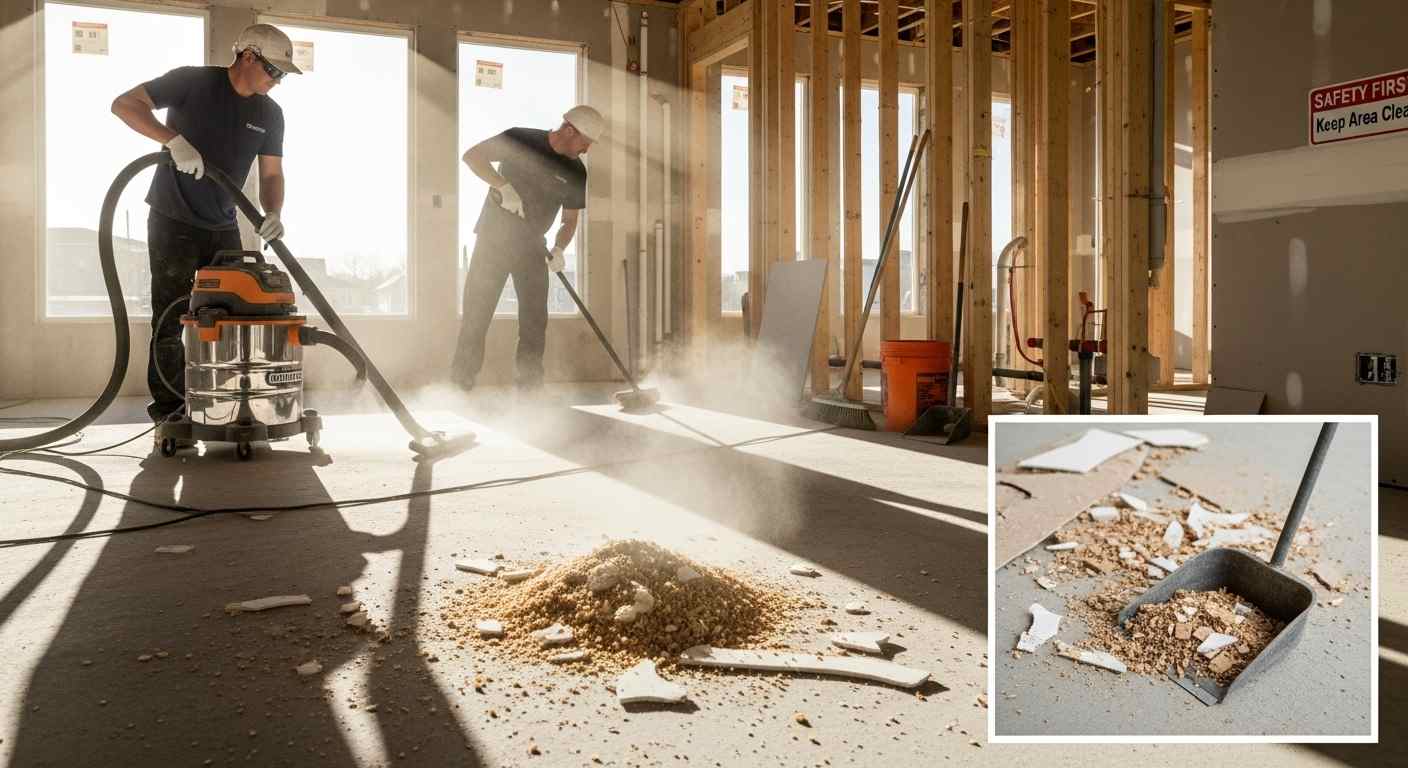
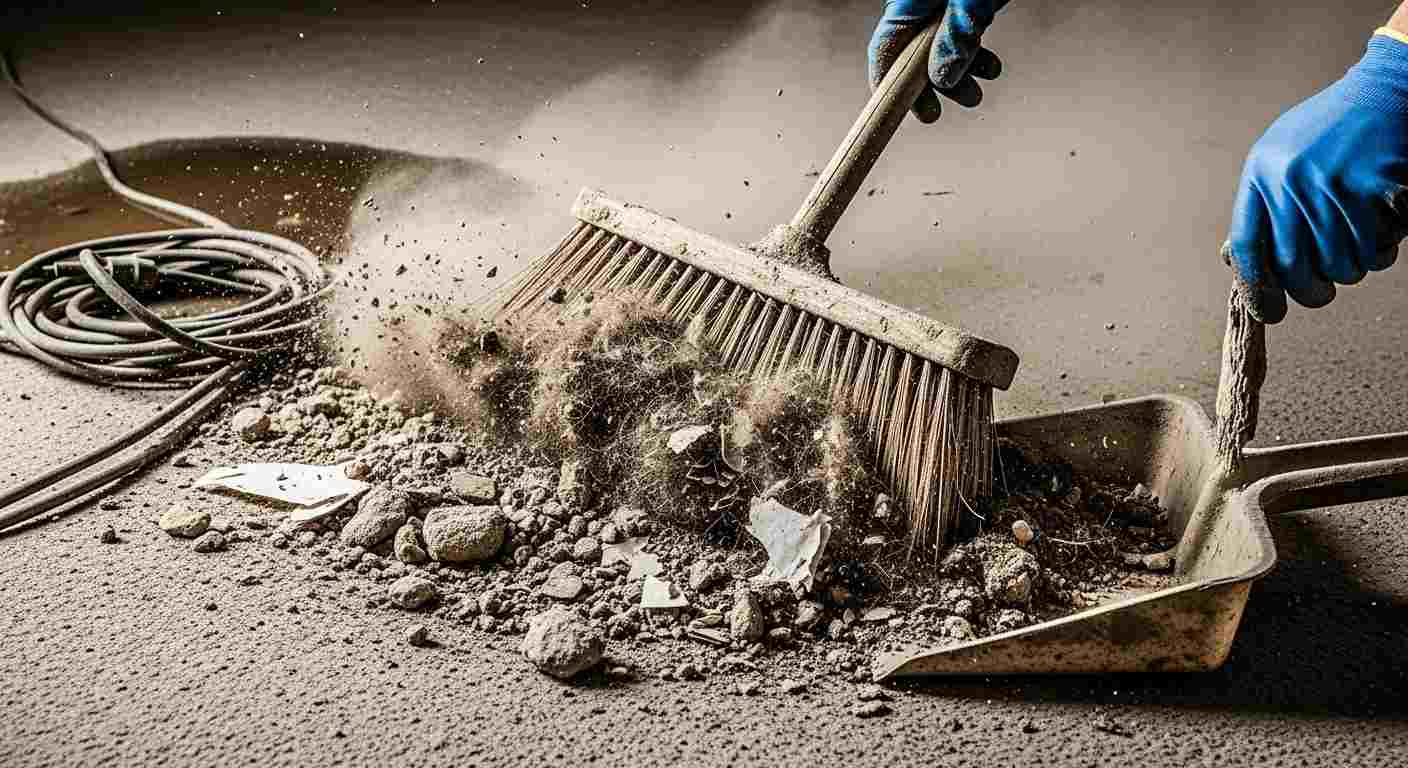
Dust and debris are the biggest challenges after house construction. Even when the builders finish their work, the entire property, floors, walls, windows, cupboards, and outdoor areas, can be covered in fine plaster dust, timber particles, cement residue, paint flakes, and leftover materials. This type of dust is not the same as normal household dust. Construction dust is heavier, more stubborn, and sometimes harmful if not removed properly.
Removing dust and debris is the first major step in post-construction cleaning. It prepares the home for detailed cleaning and helps protect new surfaces such as tiles, timber floors, benchtops, and windows. This guide explains safe and effective dust and debris removal methods, focusing on homes built in Australia. The goal is to give readers a clear understanding of what to do, what tools to use, and how to handle construction waste correctly.
Understanding Dust and Debris After Construction
Construction work creates several types of dust and debris. Each type behaves differently and requires specific cleaning methods. Fine plaster dust can float in the air and settle again even after cleaning. Cement dust becomes sticky when mixed with water. Timber sawdust spreads easily across surfaces, and paint or adhesive residue can dry into hard spots.
Common sources of construction dust include:
- Plaster and gyprock sanding
- Timber cutting and flooring installation
- Concrete mixing and grinding
- Tile cutting and grouting
- Brickwork and blockwork
- Paint preparation and sanding
Debris includes small and large pieces of materials such as broken tiles, screws, nails, timber offcuts, packaging, and plastic coverings. Understanding the nature of dust and debris helps cleaners choose the right tools and avoid damage to new surfaces.
Why Dust & Debris Removal Is Important

Removing dust and debris is necessary for several reasons. Firstly, it improves air quality. Fine dust particles can irritate the eyes, nose, throat, and lungs. According to SafeWork Australia, exposure to construction dust, especially silica dust, can be harmful if not managed properly.
Secondly, leaving dust on surfaces can cause stains or scratches. When dust mixes with moisture, it can create marks on tiles, stone, or polished floors. Debris left on the floor can cause scratches, chips, or dents.
Lastly, dust removal prepares the home for detailed cleaning. Kitchens, bathrooms, wardrobes, and windows cannot be cleaned properly unless dust and debris are removed first. Proper removal also ensures the home looks presentable during handover or inspection.
Safety Considerations Before Starting Dust & Debris Removal
Before cleaning begins, the area should be checked for hazards. Construction sites may still contain sharp tools, loose screws, nails, broken tiles, or unstable fixtures. Wearing PPE (Personal Protective Equipment) is essential. This includes gloves, boots, safety goggles, and dust masks or respirators. Using a respirator is especially important when dealing with fine particles.
Ladders must be used safely when cleaning high areas such as ceiling corners or window frames. Outdoor areas may be uneven or slippery, so cleaners must walk carefully. Chemicals should never be mixed, and cleaning equipment should be kept away from electrical points or exposed wiring. Taking these precautions ensures a safe working environment for everyone involved.
Tools Needed for Dust & Debris Removal
While cleaning dust and debris may sound simple, it requires specific tools to get the job done properly.
Common tools used in the dust removal stage include:
- Industrial HEPA vacuum
- Hard-bristle brooms
- Soft-bristle brooms for delicate surfaces
- Outdoor brushes
- Microfibre cloths
- Dusting poles and extension tools
- Plastic scrapers
- Heavy-duty garbage bags
- Buckets and brushes
Why a HEPA vacuum is essential:
Standard household vacuums cannot capture fine plaster and silica dust. Industrial HEPA vacuums trap tiny particles that are harmful to breathe. They also prevent dust from blowing back into the air.
These tools ensure dust is removed safely and efficiently without damaging surfaces.
How to Remove Dust & Debris Effectively

Dust and debris removal must be done in a structured way. Cleaning randomly usually spreads dust instead of removing it. The process should always start from the top and work downward.
Below is a paragraph-based breakdown of how each stage should be handled.
1. Start With High Areas
Dust naturally falls downward, so cleaning should begin with ceilings, cornices, top shelves, light fittings, and high corners. A long-handled dusting pole or soft brush works best for these areas. High areas often accumulate spider webs, plaster dust, and timber particles from ceiling work. When these areas are cleaned first, the dust falls to the ground where it can be vacuumed later.
2. Clean Walls, Frames, and Vertical Surfaces
Walls and window frames attract a lot of dust during construction. A gentle brush or dry microfibre cloth helps remove dust without damaging paint or marking the surface. If the wall has stubborn dust stuck to fresh paint, it must be cleaned very lightly to avoid leaving streak marks. Window frames, sliding tracks, and door frames also collect debris that must be removed before glass cleaning.
3. Vacuum All Loose Dust
Vacuuming is the most important step in dust removal. An industrial HEPA vacuum should be used to ensure fine dust particles are captured safely. Vacuuming should be done slowly and thoroughly across all areas, including floors, skirting boards, and corners. If dust is heavy, vacuuming may need to be repeated multiple times. Rugs, carpets, and soft flooring should always be vacuumed with HEPA filtration to prevent fine dust from spreading back into the air.
4. Sweep and Collect Large Debris
After vacuuming, larger debris becomes easier to collect. This includes pieces of timber, tile fragments, screws, nails, packaging, and other leftover construction waste. A hard-bristle broom helps lift large debris from the ground. All debris should be disposed of in heavy-duty garbage bags to prevent tears. Sharp items must be handled carefully to avoid injuries.
5. Mop or Wipe Remaining Dust Film
After the bulk of the dust is removed, a thin layer of fine dust often remains on floors and surfaces. This dust film must be removed with a damp microfibre mop or cloth. Using too much water can cause streaks or marks, especially on tiles or timber floors. A lightly damp cloth is enough to trap fine dust without causing damage.
6. Remove Stubborn Dust and Marks
Some areas may have thick dust or dry plaster stuck to the surface. These can be removed using plastic scrapers or gentle cleaning solutions. It is important not to use metal scrapers on delicate surfaces such as tiles, benchtops, or windows, as they can cause permanent scratches. Soft pads or microfibre cloths are much safer.
7. Clean Corners, Edges, and Hidden Areas
Construction dust often hides in small spaces such as door tracks, under sinks, inside cupboards, and behind appliances. These areas must be cleaned carefully to remove all hidden debris. Using a narrow nozzle attachment on the vacuum helps reach corners and tight spaces. Cleaning these areas ensures the home is thoroughly prepared for detailed cleaning.
8. Exterior Dust & Debris Removal
Dust and debris also gather outside the home. Driveways, pathways, patios, and balconies should be swept and washed. Outdoor cleaning may require water hoses or gentle pressure washing. Outdoor window frames, sliding doors, and deck areas also collect dust that needs cleaning. Removing exterior dust helps prevent dirt from being tracked inside once the home is occupied.
Common Challenges During Dust & Debris Removal

Removing construction dust is not always easy. Plaster dust can return to surfaces even after cleaning because it floats in the air. Cement dust becomes sticky when mixed with water, so cleaning must be done carefully. Adhesive marks from tapes and stickers may need special cleaning products. Debris can hide under cupboards, behind doors, and in window tracks, requiring detailed attention.
Timber floors are particularly sensitive. Dust on timber must be removed gently because scratches can appear easily. Tiles may develop a haze after grouting, which requires proper cleaning methods to restore shine.
Understanding these challenges helps cleaners work more carefully and effectively.
Tools and Equipment: Why They Matter
Using the right tools is essential in dust and debris removal. HEPA vacuums protect air quality, microfibre cloths trap fine dust, and plastic scrapers prevent scratches. Brooms, dusting poles, and extension tools help reach high areas safely. Heavy-duty bags make waste disposal easier. Each tool plays an important role in ensuring the cleaning process is safe, efficient, and aligned with Australian standards.
Benefits of Proper Dust and Debris Removal
Removing dust and debris properly brings several benefits. It improves the appearance of the home, protects surfaces from damage, and creates a healthier indoor environment. It also helps prepare the home for detailed cleaning stages, making the final clean more efficient. Proper dust removal reduces allergies, prevents scratches, and supports a smooth handover process.
FAQS
Why is construction dust so difficult to clean?
Because it is very fine and can return to surfaces even after cleaning.
Can I use a normal vacuum for construction dust?
No. A HEPA vacuum is needed to trap fine plaster and silica dust safely.
How do I remove large debris?
Sweep and collect using heavy-duty bags.
What is the best way to clean window tracks?
Use a vacuum nozzle and a damp cloth.
How do I remove paint flakes or plaster spots?
Use a plastic scraper to avoid scratching.
Why do I need to clean high areas first?
Dust falls downward, so cleaning top areas first prevents recontamination.
How many times should I vacuum?
Usually two or three times, depending on dust levels.
Is construction dust harmful?
Fine particles can irritate lungs and eyes, so wearing a mask is recommended.
Can I mop the floor immediately?
Only after vacuuming. Mopping dusty floors can cause streaks.
Should debris be disposed of in normal bags?
Heavy-duty bags are safer because they don’t tear easily.
